To route cold plunge drain lines through finished basement ceilings, plan a continuous 1/4-inch-per-foot downward slope from the tub to a floor drain, sump, or laundry standpipe, use 1.5" or 2" Schedule 40 PVC or PEX-A inside a leak-detection sleeve, and add an accessible cleanout plus a removable ceiling panel every 8-10 feet. Penetrate joists only at center-third locations, never notch bottom chords, and wrap pipes in closed-cell insulation to stop condensation drips that ruin drywall. With the right hangers, primary/secondary containment, and a smart shutoff, you can hide the entire run above the ceiling without ever staining a single tile.
Why finished basement ceilings make cold plunge drainage tricky
A cold plunge holds 80-150 gallons of 38-50°F water. When you drain it, that volume needs to move fast (most owners want a 10-15 minute empty time) and the pipe surface will be cold enough to sweat heavily in any humid mechanical room. If you simply staple PEX to the underside of the joists and cover it with drywall, you will get three failure modes within a year: condensation drip stains, slow seepage at glued joints you can't reach, and water-hammer noise transmitted into the living space above. The decision to route cold plunge drain lines through finished basement ceilings is really a decision about access, slope, and condensation control - in that order.

Step 1: Map the gravity path before you cut anything
Stand at the plunge location and identify the closest legal termination point. In order of preference: an existing floor drain in the mechanical room, a laundry standpipe (with an air gap), a sump basin (only if your code allows greywater), or a utility sink. Measure the vertical drop available between the tub's drain port and that termination. You need a minimum of 1/4" per foot of horizontal run - so a 24-foot run requires 6" of total fall. If you only have 4" of headroom inside the ceiling cavity, you must either shorten the run, drop into a pump basin, or relocate the tub.
Sketch the joist direction on graph paper. Drains that run perpendicular to joists need bored penetrations; drains that run parallel can ride between two joists with strap hangers every 32 inches. Perpendicular runs are slower to install but result in a tighter, flatter ceiling because the pipe never sags between supports.
Step 2: Choose the right pipe diameter and material
For cold plunges under 150 gallons, 1.5" Schedule 40 PVC is the sweet spot - it drains a full tub in 9-12 minutes by gravity alone and fits through a 2" hole bored in a 2x10 joist without compromising structural capacity. Go to 2" PVC only if your run exceeds 30 feet or has more than three 90° elbows. ABS is acceptable but louder; PEX-A with cold-expansion fittings is the quietest option but requires a dedicated insulated chase because it sweats more than PVC.
Always glue PVC joints with purple primer and medium-body cement, and pressure-test the assembled run with 5 psi of air for 15 minutes before closing the ceiling. A failed joint behind drywall is a $2,000 repair; a failed joint on the bench is a $0.40 fitting.
Step 3: Penetrate joists the right way
The International Residential Code allows holes in floor joists up to 1/3 the joist depth, centered in the middle third of the span and at least 2" from any edge. For a standard 2x10 (9.25" deep), that means a maximum 3" hole, ideally 4.6" from the top edge. Use a self-feeding auger bit or a hole saw - never a reciprocating saw, which leaves jagged edges that abrade the pipe over time. Sleeve each penetration with a short section of one-size-larger PVC to allow thermal movement and to keep the joist from squeezing the drain line when the house frames shift seasonally.
Step 4: Insulate to kill condensation
This is the step most DIYers skip and most regret. Cold drain water on a humid summer day will cause your pipe to drip at a rate of roughly 1 oz per linear foot per hour. Wrap the entire horizontal run in 1/2" closed-cell elastomeric insulation (Armaflex AP or equivalent), seal every seam with the manufacturer's contact adhesive, and slip a length of vapor-tight foil tape over each butt joint. Do not use fiberglass pipe wrap - it absorbs the moisture instead of blocking it and turns into a wet sock above your drywall.
Step 5: Add containment and leak detection
Run the insulated drain inside a 4" PVC sleeve pitched the same direction as the drain itself, terminating over the mechanical room floor drain. If a glued joint ever fails, water travels inside the sleeve to a visible location instead of pooling on top of drywall. Drop a $20 Wi-Fi water sensor at the low end of the sleeve and another above the ceiling at the tub end. Pair them with a motorized ball valve on the plunge's fill line and you have a fully automated shutoff for less than $200.
How drain routing shapes your recovery tool stack
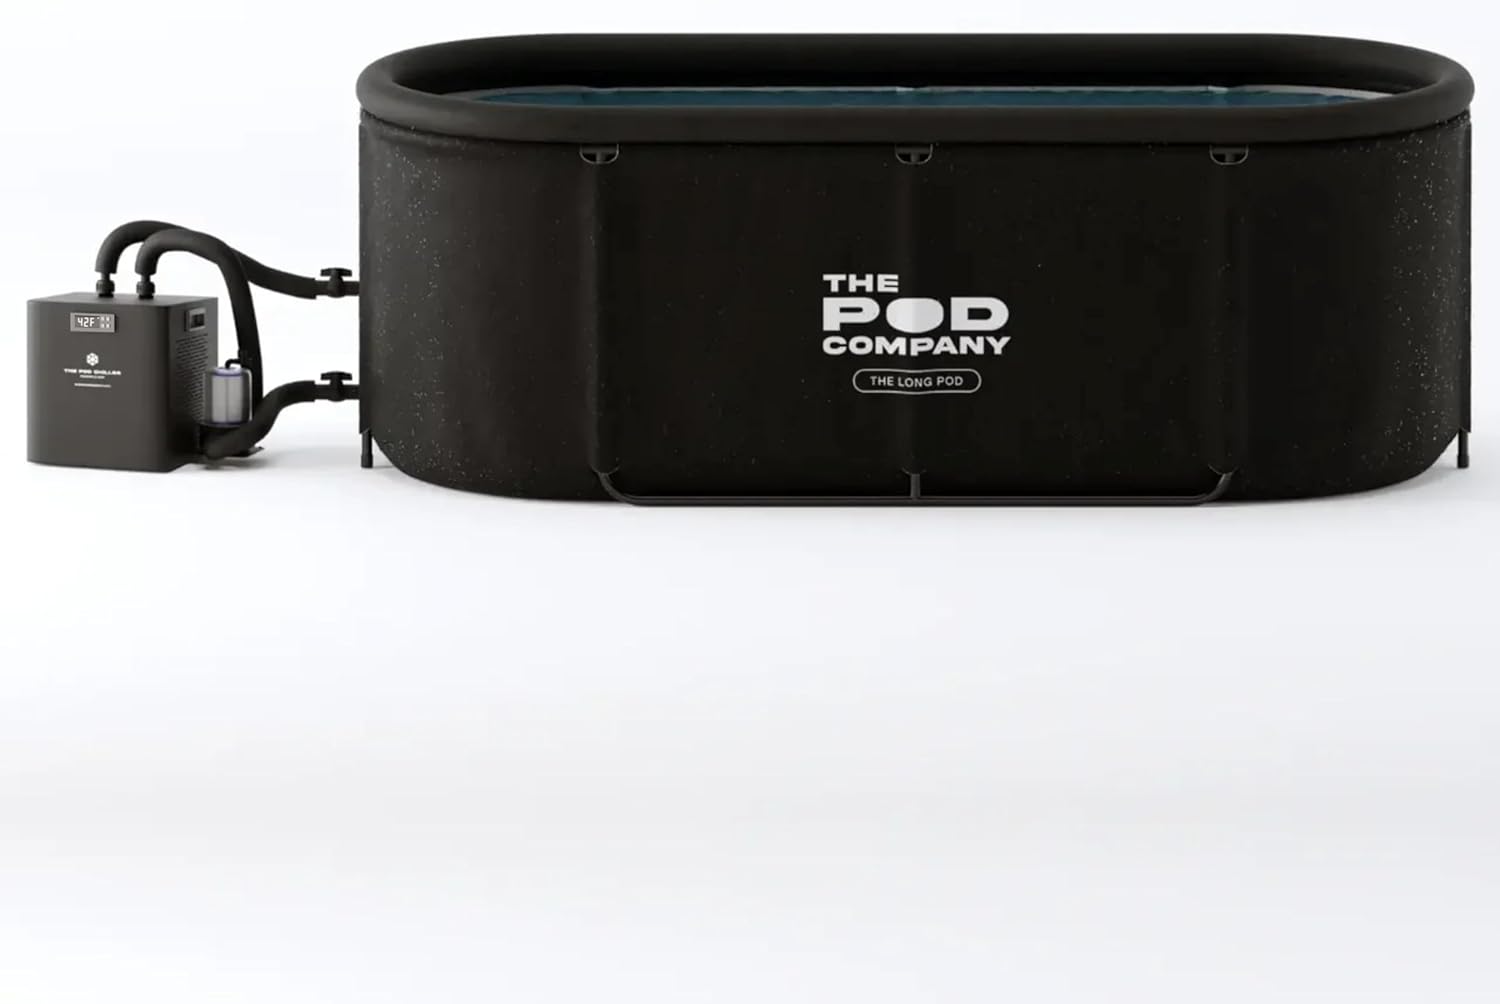
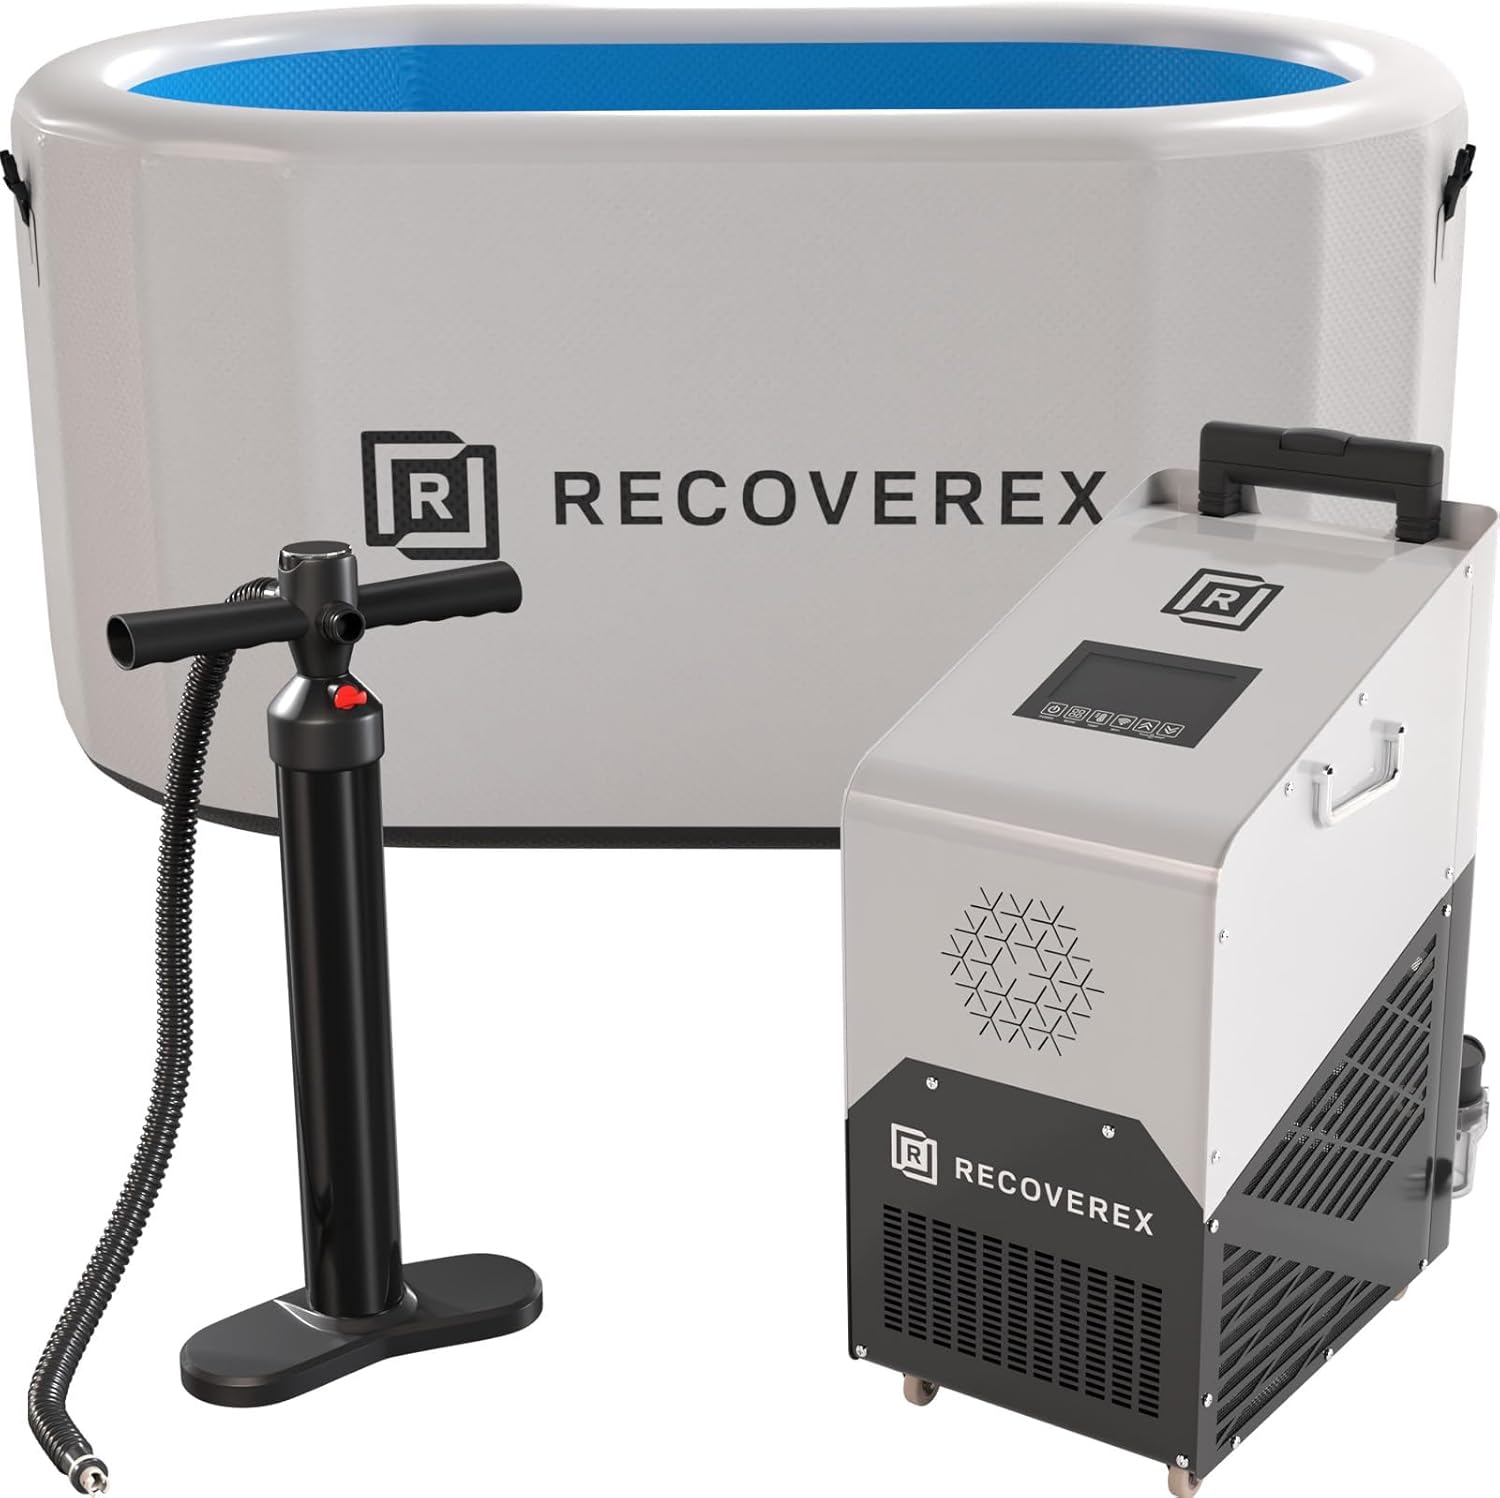
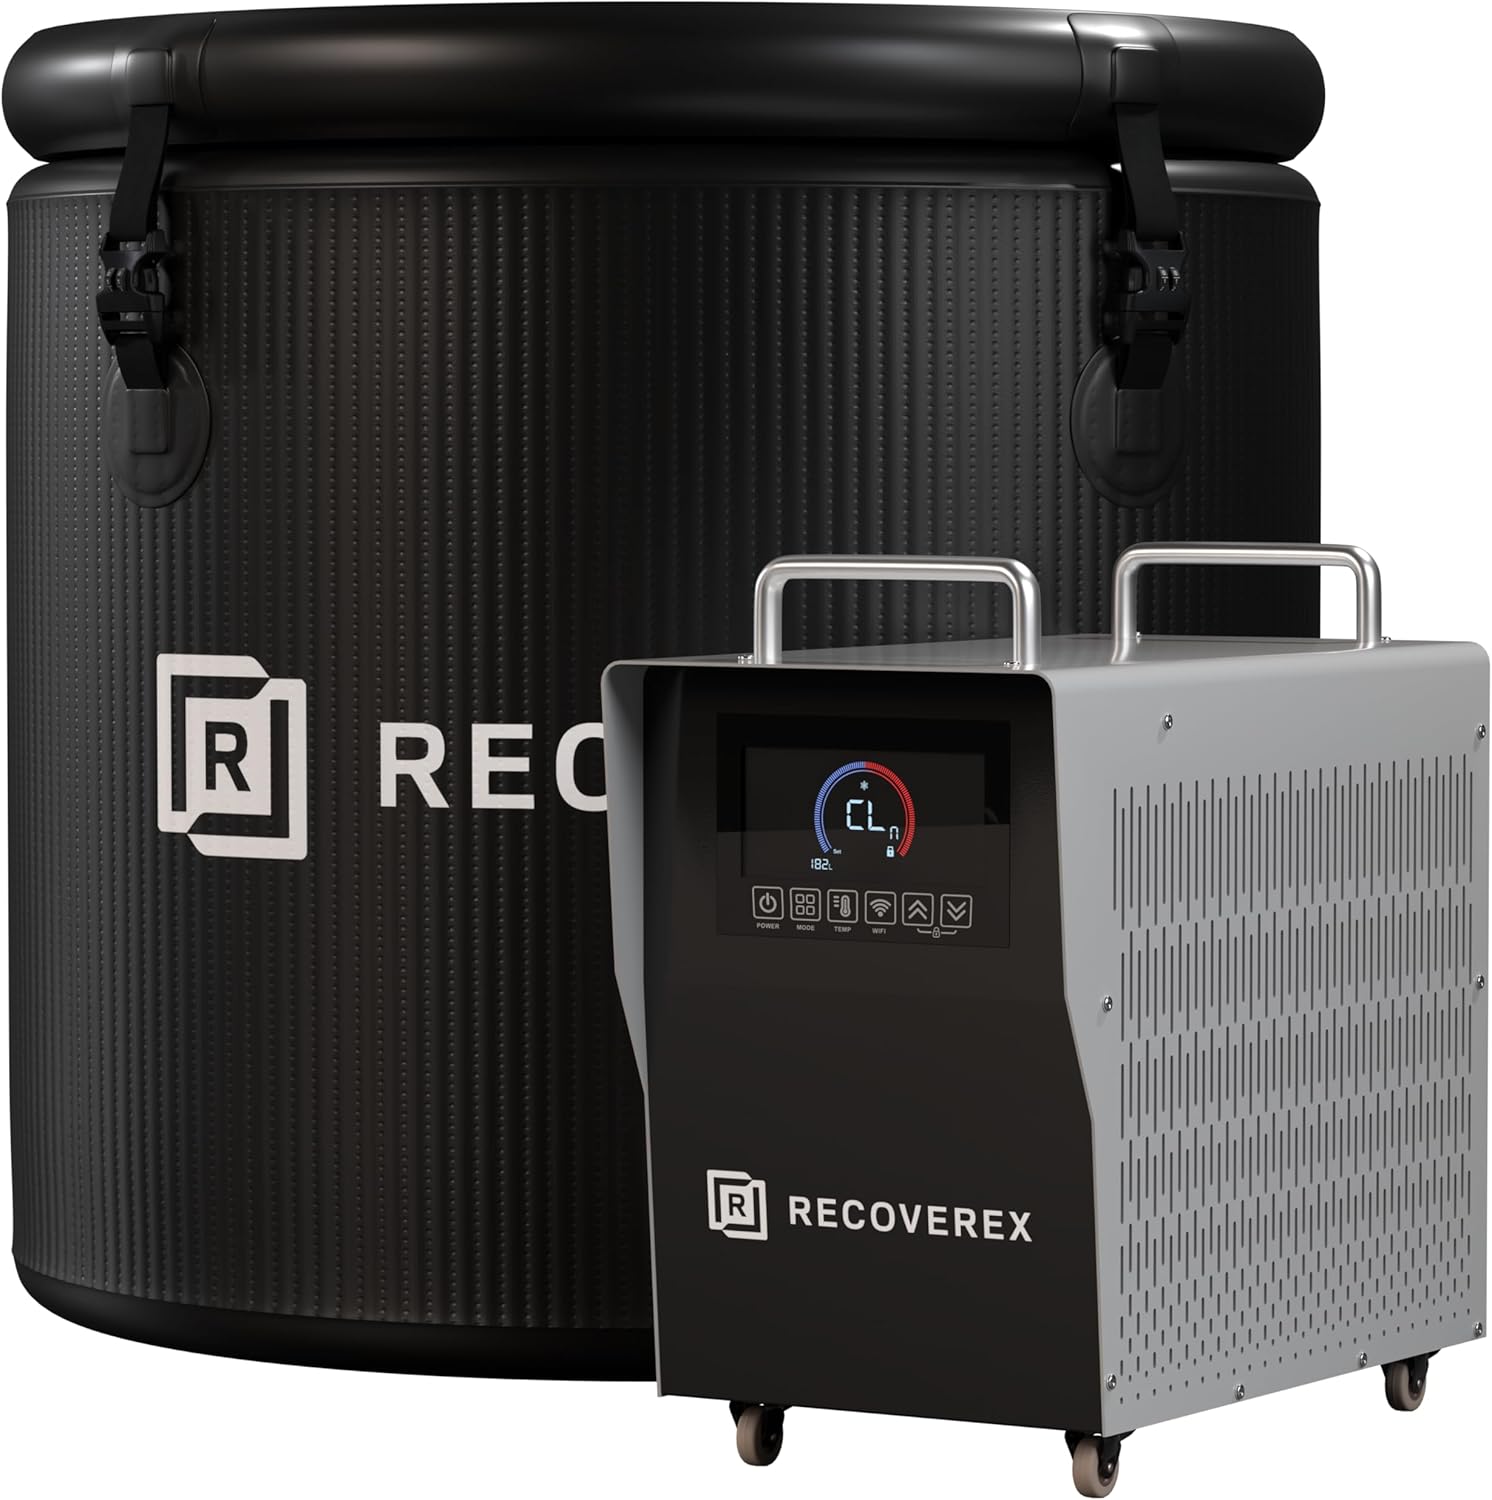
Owners who can't get the slope they need, or who don't want to open a finished ceiling at all, often end up running a hybrid recovery setup: a smaller plunge for full-body work plus a targeted cold-therapy machine for joint-specific recovery sessions. The localized units don't need a drain line at all - you fill and empty a reservoir at the unit - which makes them ideal for upstairs gyms, rented basements, or any space where breaking into a finished ceiling isn't worth the disruption. They also pair well with a plunge when you're rehabbing a specific joint and want temperature-controlled compression without dropping a whole tub of cold water.
Comparison: targeted cold therapy machines that complement a plunge setup
| Model | Reservoir | Best For | Drain Needed? |
|---|---|---|---|
| CF-3 Pro 16.8QT | 16.8 quarts | Knee & shoulder, long sessions | No - manual drain |
| CF-1 Quiet System | ~6 quarts | Bedroom/quiet rooms | No - manual drain |
| Portable Programmable Timer Unit | ~6 quarts | Scheduled overnight cycles | No - manual drain |
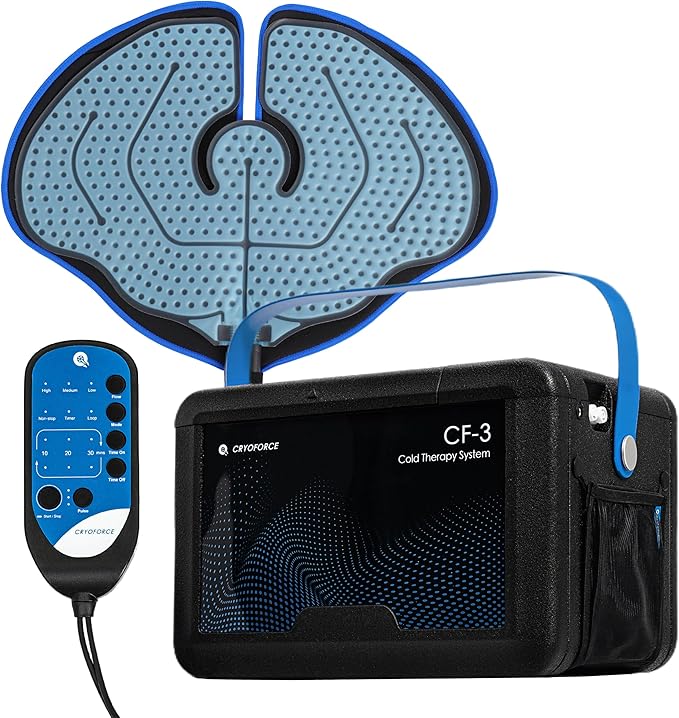
CF-3 Pro Cold Therapy Machine (16.8QT)
If you're building out a basement recovery room and want a backup option for the days you don't want to fill the plunge, the CF-3 Pro is the highest-capacity unit in this lineup. The 16.8-quart reservoir runs for 6-8 hours between refills, which is long enough to handle a full evening of post-workout knee or shoulder treatment without interrupting. Because it drains into a bucket, you skip the entire ceiling-penetration problem. Check the CF-3 Pro on Amazon.
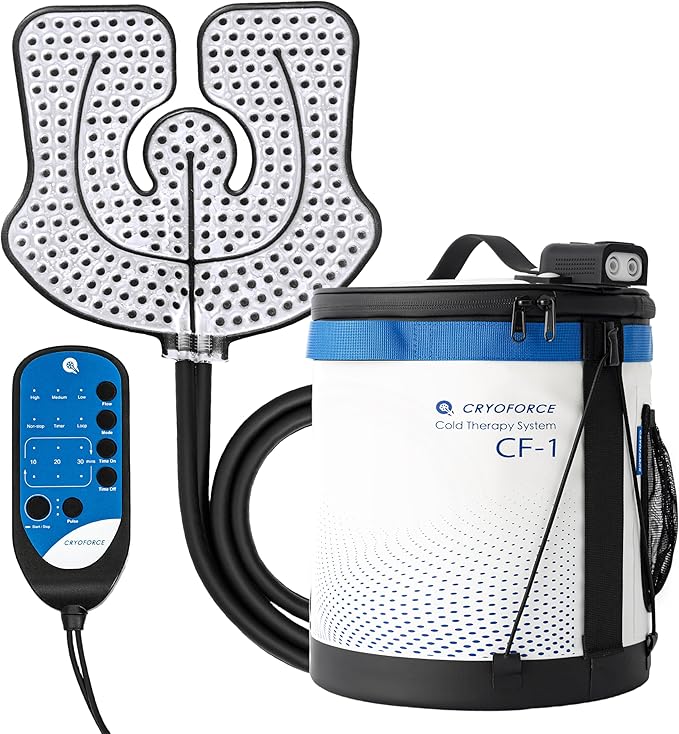
CF-1 Quiet Cold Therapy Machine
For a finished basement where the plunge sits near a bedroom or media room, ambient noise becomes a real consideration. The CF-1 is engineered around a low-decibel pump and is the unit I'd recommend for anyone who plans to run overnight icing sessions while family members sleep one floor up. It's also small enough to stash in a closet between uses. View the CF-1 Quiet System on Amazon.
Portable Ice Machine with Programmable Timer
If your basement build-out includes a programmable lighting or HVAC schedule, this unit slots in nicely because it can be set to start and stop on its own. Useful for pre-warming a recovery session before you come downstairs, or for cycling cold/rest intervals without standing over the controls. See the programmable timer unit on Amazon.
Common mistakes when you route cold plunge drain lines through finished basement ceilings
The five failures I see most often during inspections: (1) using flex hose instead of rigid pipe for the horizontal run, which sags and traps water; (2) tying into a vent stack instead of a drain, creating sewer-gas backflow into the tub; (3) skipping the cleanout, which guarantees a drywall demo the first time biofilm clogs an elbow; (4) using a single 90° elbow where two 45°s would flow twice as well; and (5) running the drain through an exterior-wall joist bay, where it will freeze in any unconditioned cavity. Avoiding these is mostly a matter of slowing down at the planning stage.
For more on the upstream side of the system, see our guide to cold plunge fill line routing and our walkthrough on basement cold plunge electrical requirements. If you're still picking equipment, our roundup of the best quiet cold plunge pumps for 2026 is the natural next read.
Frequently Asked Questions
Can I use PEX instead of PVC to route cold plunge drain lines through finished basement ceilings?
PEX-A is acceptable for the drain run if local code allows non-DWV materials for greywater, but it sweats more aggressively than PVC and must be wrapped in a thicker layer of closed-cell insulation. Most installers stick with 1.5" Schedule 40 PVC because it's stiffer, holds slope without sag between hangers, and accepts standard cleanouts. Reserve PEX for the supply (fill) side of the system.
What slope do I need for a horizontal cold plunge drain line?
A minimum of 1/4" per foot of run, matching standard DWV practice. Cold plunges drain faster than a sink because the head pressure is higher, but the slope rule still applies - it prevents standing water that breeds biofilm and freezes near exterior walls. If you can give the line 3/8" per foot, do it; the extra fall buys you faster emptying and quieter flow.
Do I need a vent on a cold plunge drain line?
Yes - any drain longer than about 5 feet or with more than one fitting needs an air admittance valve (AAV) or a tie-in to the home's existing vent stack. Without a vent, the drain will gurgle, slow to a trickle, and pull water out of nearby P-traps. A studor-style AAV mounted above the ceiling and accessible through a removable panel is the simplest legal solution in most jurisdictions.
How do I prevent the drain pipe from sweating onto my drywall?
Wrap the entire run in 1/2" closed-cell elastomeric insulation, seal every seam with manufacturer-approved adhesive, and run the insulated pipe inside a slightly oversized PVC sleeve pitched to the mechanical room. The sleeve acts as both a containment layer and a secondary vapor barrier. Skip the fiberglass - it traps moisture and rots the wood above it.
Can I drain a cold plunge into a sump pump basin?
Only if your local code classifies plunge water as greywater and your sump is rated for it. Many jurisdictions prohibit any non-stormwater discharge into a sump because it overloads the pump and can introduce contaminants into the foundation drain system. Check with your building department first; a floor drain or laundry standpipe is almost always the cleaner answer.
What size access panel should I install in the finished ceiling?
Minimum 12" x 12" magnetic access panels every 8-10 feet along the run, with one larger 18" x 18" panel directly above any cleanout fitting. Place panels at every change in direction so you can snake a drain auger through a 45° or 90° elbow without cutting drywall. Magnetic panels are nearly invisible when painted to match the ceiling.
How fast should a 100-gallon cold plunge drain?
With a properly sloped 1.5" PVC drain and an unobstructed vent, expect 8-12 minutes to fully empty. If you're seeing 20+ minute drain times, the most common causes are insufficient slope, a missing vent, or a partially clogged strainer at the tub outlet. Pull the strainer and check the slope with a 4-foot level before assuming the pipe itself is the problem.
Key Takeaways
- Choosing the right route cold plunge drain lines through finished basement ceilings means matching capacity and output ports to your actual devices
- Always check actual watt-hours (Wh), not just watts — runtime depends on Wh, not peak output
- Also covers: cold plunge drain line basement install
- Also covers: finished basement ice bath plumbing
- Also covers: cold plunge drainage through drywall ceiling
- Compare price-per-Wh across models to find the best value for your budget